A Guide to Test Driven Development Red Green Refactor

The test driven development red green refactor cycle is a rhythm that many of the best software teams I’ve worked with live by. At its heart, it’s simple: write a test that fails (Red), write just enough code to make it pass (Green), and then clean everything up (Refactor).
This loop does more than just ensure you have tests. It fundamentally changes how you build software, forcing you to think about design and requirements before you ever write a line of implementation code.
Understanding The TDD Red Green Refactor Cycle

It’s easy to mistake Test Driven Development (TDD) as just another testing strategy, but it’s really a design discipline. The red, green, refactor cadence provides a predictable, structured flow that takes you from a fuzzy requirement to clean, functional code. It shifts your mindset from “How do I build this?” to “How will I know this works?”
That little shift is where the magic happens. Instead of writing a massive chunk of code and then scratching your head about how to test it all, you start with the outcome. The test you write becomes the official specification for the feature you’re about to create.
The Red Phase: Write a Failing Test
Your journey always starts in the Red phase. The very first thing you do is write a small, automated test for a tiny piece of functionality that doesn’t exist yet. Naturally, it’s going to fail. A failing test here isn’t a bug—it’s progress.
This initial failure is critical for a couple of reasons:
- First, it confirms your test runner is set up correctly and your test can actually fail. A test that can’t fail is useless.
- Second, it forces you to be crystal clear about the requirements. You have to define what you expect to happen before you can even think about the implementation.
The goal of the Red phase is simple: turn a requirement into a concrete, failing test. This test is the proof that you have a clear target to aim for.
The Green Phase: Make the Test Pass
Once you have a solid failing test, you’re in the Green phase. Your only job right now is to make that test pass. And I mean that literally—write the absolute minimum amount of code to get a green light.
This is not the time to be clever or build for the future. If hardcoding a return value makes the test pass, do it. If a simple if statement gets you there, stop. Resisting the urge to over-engineer is a key discipline here. All we’re doing is writing code that directly satisfies the requirement we just proved with our failing test.
The Refactor Phase: Improve the Code
With a passing test, you’ve earned yourself a safety net. Now you can enter the Refactor phase with confidence. The code works, but is it clean? Is it easy to understand? This is your chance to improve the internal design without changing what it does.
You can clean up variable names, extract methods, or remove any duplication you introduced to get to green. After every small change, you run the tests again. As long as they all stay green, you know you haven’t broken anything. This is the step that ensures your codebase stays healthy and maintainable over the long haul.
To tie it all together, here’s a quick breakdown of what happens in each stage of the test driven development red green refactor workflow.
The Red-Green-Refactor Cycle at a Glance
This table summarizes the core loop of TDD. Each phase has a distinct goal that builds on the last, creating a tight, iterative development cycle.
| Phase | Color | Objective | Developer Action |
|---|---|---|---|
| Red | 🔴 | Define a new requirement | Write a single, small test that fails. |
| Green | 🟢 | Fulfill the requirement | Write the simplest code to make the test pass. |
| Refactor | 🔵 | Improve code quality | Clean up the implementation while keeping all tests green. |
By following this pattern, you ensure every piece of code is intentional, tested, and as clean as you can make it before moving on to the next small challenge.
Of course. Here is the rewritten section with a more natural, human-written tone and style.
Let’s Walk Through a Real TDD Cycle
Theory is great, but the real “aha!” moment with TDD comes when you get your hands dirty. Let’s ditch the abstract and write some actual code. We’ll build a simple User class in Python, starting with just one small requirement: a user needs to have a valid email address.
This isn’t just about following steps; it’s about getting a feel for the rhythm of the red → green → refactor loop. You’ll see how each phase builds on the last, giving you a solid workflow you can start using right away.

The Red Phase: Write a Test That Fails
First things first, we write a test for something that doesn’t exist. This feels backward at first, but it’s the core of TDD. We’re defining what we want the code to do before we write the code itself.
We’ll use Python’s built-in unittest framework for this example, but the concept is exactly the same whether you’re using pytest, Jest, or any other testing tool.
Here’s our first test. We’re trying to create a User with an email and then check that the email was set correctly.
test_user.py
import unittest
This import will fail right away, which is exactly what we want.
from user import User
class TestUser(unittest.TestCase): def test_can_create_user_with_valid_email(self): “”“Tests that a User object can be created with a valid email.”“” user = User(“test@example.com”) self.assertEqual(user.email, “test@example.com”)
if name == ‘main’: unittest.main()
When you run this, it blows up immediately. You get an ImportError because there’s no user.py file, let alone a User class. That’s our red signal. The test is failing, which means we’ve successfully defined a piece of work to be done.
A failing test isn’t a bug—it’s a to-do list item. This first failure is perfect; it confirms our goal is to create a
Userclass that knows about emails.
The Green Phase: Make the Test Pass (and Nothing More)
Okay, with the test failing as expected, the goal is to make it pass. The key here is to write the absolute minimum amount of code to get to green. Don’t think about elegant solutions or future-proofing. Just make the error go away.
First, let’s fix the ImportError by creating a user.py file with an empty class.
user.py
class User: pass # Just enough to exist.
Run the test again. The ImportError is gone, but now we have a TypeError because User("test@example.com") was called, but our class doesn’t accept any arguments. Progress! We’re one step closer.
Let’s add an __init__ method to fix that.
user.py
class User: def init(self, email): self.email = email
Now, run test_user.py one more time. It passes! We’ve got our green light. The code is incredibly basic, but it satisfies the exact requirement laid out by our test. We’ve successfully gone from red → green.
The Refactor Phase: Now We Can Make It Better
With a passing test acting as our safety net, we can finally clean up the code. This is the refactor phase. Our current code is a bit too trusting—it would happily accept User("not-an-email") and call it a day. We need to add some actual validation.
To do that, we start the cycle over by adding a new test for the invalid case.
test_user.py (add this new method to the TestUser class)
def test_cannot_create_user_with_invalid_email(self): “”“Tests that creating a user with an invalid email raises an error.”“” with self.assertRaises(ValueError): User(“not-a-valid-email”)
Run the tests, and we’re back to red. The test fails because the expected ValueError never happened. Great! We have a new target. Let’s go back to the “green” mindset and add the validation logic.
user.py
import re
class User: def init(self, email): if not re.match(r"[^@]+@[^@]+.[^@]+", email): raise ValueError(“Invalid email format”) self.email = email
Run the full test suite again, and everything passes. We’re back to green! The core loop is what drives TDD’s benefits. This discipline is why a comprehensive survey found that 50% of developers use TDD in at least half of their projects, and 95% pair it with CI/CD pipelines—it just fits perfectly into modern, automated development.
Now, we can do a proper refactor. That email validation logic is a bit messy inside the constructor. A good cleanup step is to pull it into its own function to make the code clearer and more reusable. If you want to dive deeper into this style of testing, check out our guide on unit testing examples.
user.py (Refactored)
import re
def is_valid_email(email): “”“Simple regex check for email format.”“” return re.match(r"[^@]+@[^@]+.[^@]+", email) is not None
class User: def init(self, email): if not is_valid_email(email): raise ValueError(“Invalid email format”) self.email = email
After this final change, we run our tests one last time. Still green. We’ve just improved our code’s internal structure without changing what it does, and we did it with the confidence that we didn’t break anything. That’s a full test driven development red green refactor cycle in action.
Master Your TDD Workflow
Use this scorecard to turn each TDD cycle into a repeatable habit for building high-quality software.
📊 Core TDD Metrics
- Time to Green — Measures how quickly you can make a failing test pass.
- Refactor Ratio — Tracks the amount of time spent cleaning code vs. writing new features.
- Test Coverage Growth — Monitors the percentage of your codebase protected by tests over time.
🕹️ My TDD Cheatcodes
- 🌱 Red First, Always — Write a failing test before a single line of implementation code.
- 🦎 Green Means Go Simple — Write the absolute simplest code to pass the test, no more.
- ⚡ Refactor with Confidence — Clean up your code only when all tests are green.
📈 Reflection Points
- 💡 Am I testing behavior or implementation details?
- 🧩 Is this test small and focused on one thing?
- 📘 Did I remember to refactor after the test passed?
✅ Before You Commit
- 🔍 Run the entire test suite one last time
- 📊 Check if the new code is clean and readable
- 🧭 Ensure test names clearly describe the behavior
- 📈 Confirm no anti-patterns were introduced
Common TDD Pitfalls and How to Avoid Them
Getting into Test Driven Development is less about learning a new technical skill and more about rewiring your coding habits. It’s a discipline, and like any discipline, there are a few common traps that even experienced developers can fall into. Spotting these anti-patterns early is the key to making TDD work for you, not against you.
These issues usually pop up when we lose sight of the core test driven development red green refactor cycle. Let’s walk through the most common ones I’ve seen in the wild and talk about how to sidestep them.
Anti-Pattern 1: Writing Giant, Overloaded Tests
It’s an easy mistake to make. You write a single, chunky test that tries to verify a whole user story in one go. A test named something like test_user_creation_and_login is a huge red flag. It’s doing way too much.
When a test like that fails, you’re left scratching your head. Did the creation part fail? The login part? The validation? This completely defeats the purpose of having a fast, precise feedback loop.
Good tests are small and focused. They test exactly one thing. A much better way to handle that scenario is to break it down:
test_user_can_be_created_with_valid_datatest_user_login_succeeds_with_correct_credentialstest_user_login_fails_with_incorrect_password
Now, when a test fails, you know precisely where the bug is. A failure in test_user_login_fails_with_incorrect_password points you directly to the problem, making the fix (getting to “green”) quick and painless.
Anti-Pattern 2: Skipping the Refactor Step
This is probably the most tempting and destructive pitfall. You write a failing test (red), you make it pass (green), and then you immediately jump to the next feature. The “refactor” part of the cycle gets left in the dust, and you end up with a growing collection of quick-and-dirty fixes.
This habit is a one-way ticket to technical debt. Sure, the code “works” and the tests are passing, but underneath the surface, it’s becoming a tangled mess that’s a nightmare to understand and change later.
Make the refactor step sacred. Seriously, treat it as a non-negotiable part of the process. Once you hit green, take a breath and ask: “How can I make this cleaner? Is there any duplication to remove? Could this variable name be more obvious?” Your tests are your safety net, giving you the confidence to clean house without breaking anything.
Anti-Pattern 3: Testing the Implementation, Not the Behavior
This one is more subtle but can be just as damaging. You’ll know you’re doing this when your tests are incredibly brittle, breaking every time you make a small internal change. This happens when you test how a method works instead of what it accomplishes.
For example, writing a test that asserts a specific private helper method was called tightly couples your test to the code’s internal structure. The second you decide to refactor that implementation—maybe by renaming the private method or even removing it—your test breaks, even if the class still behaves correctly from the outside. This makes people afraid to refactor.
Instead, always focus your tests on the public API—the observable behavior of your objects.
- Bad (Testing Implementation): Asserting that your
sort()method calls an internalquick_sort_helperfunction. - Good (Testing Behavior): Giving an unsorted list to the public
sort()method and asserting that the list it returns is perfectly sorted.
When you focus on the “what,” you give yourself the freedom to improve the “how” during the refactor phase. Your tests become a stable, reliable document of what your system can do.
Anti-Pattern 4: Writing Production Code First
We’ve all been there. You have a crystal-clear idea of how to implement a feature, and the urge to just jump in and write the code is overwhelming. You tell yourself, “I’ll just get it working and write the test later.” Don’t do it. This completely flips the TDD model on its head and robs you of its biggest advantages.
Writing the test first forces you to think like a user of your own code. It makes you clarify the requirements and ensures that every single line of production code exists for a clear, testable reason. When you write code first, you often end up with logic that’s a pain to test, or even worse, isn’t tested at all. Stick to the mantra: red, green, refactor. There are no shortcuts.
Master Your TDD Workflow
I keep a personal scorecard like this handy. It helps turn each TDD cycle into a strong habit for building better software.
📊 Core TDD Metrics
- Time to Green — How fast am I getting from a failing test to a passing one?
- Refactor Ratio — Am I spending enough time cleaning up code versus just adding new features?
- Test Coverage Growth — Is the safety net of my test suite growing consistently over time?
🕹️ My TDD Cheatcodes
- 🌱 Red First, Always — No production code until I have a failing test that proves I need it.
- 🦎 Green Means Go Simple — Write the absolute dumbest, simplest code that makes the test pass. No more, no less.
- ⚡ Refactor with Confidence — I only start cleaning up and improving the code when the light is green.
📈 Reflection Points
- 💡 Am I testing what the code does, or how it does it?
- 🧩 Is this test small and focused on one specific outcome?
- 📘 Did I actually refactor after the last green light?
✅ Before You Commit
- 🔍 Run the whole test suite one last time.
- 📊 Is this new code easy for someone else to read?
- 🧭 Do my test names clearly describe what they're testing?
- 📈 Did I accidentally introduce one of the anti-patterns?
Integrating TDD with Your Tools and CI/CD Pipeline
The test driven development red green refactor cycle is a powerful habit for any single developer. But it really comes alive when your whole team embraces it and builds it right into your automated workflows, especially your Continuous Integration/Continuous Delivery (CI/CD) pipeline.
This is how TDD moves from a personal feedback loop to a safety net for the entire codebase. It’s what ensures the “green” state isn’t just a temporary success on your machine, but the constant baseline for the whole project.

Choosing the Right Testing Framework
First things first, you need a testing framework that works with your tech stack. These tools are the engines that actually run your tests and tell you if you’re red or green. Think of them as the umpire calling the shots in your TDD game.
While the core ideas of TDD don’t change, the tools you use are specific to your programming language.
- For Python: I’ve seen most teams have great success with
pytest. Its syntax is clean and simple, which makes writing small, easy-to-read tests a breeze. - For JavaScript/TypeScript:
Jestis the go-to framework, particularly if you’re in the React world. It’s fantastic because it comes with everything you need—a test runner, assertion library, and mocking—right out of the box. - For Java:
JUnithas been the standard for years. It’s incredibly robust and has a mature ecosystem, making it a rock-solid choice for bigger, enterprise-level applications.
Honestly, the specific tool you pick matters less than your team’s commitment to using it consistently. The real goal is to have one simple command that can kick off every single test in your project.
Making Your CI Pipeline TDD’s Best Friend
This is where TDD becomes an indispensable part of your process. A CI pipeline automatically builds and tests your code every time someone pushes a change to Git. It’s the ultimate guardian of your green build.
By setting up your CI server—whether it’s Jenkins, GitHub Actions, or GitLab CI—to run the full test suite on every commit, you create a powerful, immediate feedback system.
When a developer accidentally breaks something, the CI build fails within minutes. This feedback is immediate and crucial. It stops broken code from ever getting merged into your main branch, which keeps the codebase stable and ready to ship at all times.
The workflow is beautifully simple. When a developer pushes new code and its tests, the CI server automatically grabs the changes and runs the entire suite. If every test passes, the code is cleared for the next stage. If even one test fails, the build is marked as broken, and the team gets notified instantly.
This setup validates that a “green” light on a local machine holds up against the entire project, catching those nasty, unexpected side effects before they cause real trouble. To get a better sense of how these systems work, you can explore more about the top CI/CD platforms available today.
Visualizing Progress with Test Coverage
To make TDD work at scale, you need visibility. That’s where test coverage comes in. This metric shows you what percentage of your production code is actually being run by your tests.
A quick word of warning: chasing 100% coverage is not a healthy goal. It often leads to writing pointless tests for trivial code. Instead, use coverage as a guide.
Most testing frameworks and CI tools can generate coverage reports that show you, line-by-line, what’s tested and what’s not. Integrating these reports into your pipeline gives you a few key advantages:
- Pinpointing Gaps: You can immediately see critical business logic that has no test coverage, telling you exactly where to direct your testing efforts.
- Maintaining Quality: Set up quality gates that fail a build if coverage drops below a certain threshold. This prevents your test suite from slowly degrading over time.
- Visualizing Progress: Watching the coverage number climb gives your team a real, tangible sense of accomplishment and reinforces good habits.
When you combine the right tools, a solid CI pipeline, and clear visibility from coverage reports, the red-green-refactor cycle stops being just a personal practice and becomes a core part of your team’s engineering culture.
Integrate TDD With Your Toolchain
Use this scorecard to ensure your TDD practice is fully integrated into your team's automated workflow.
📊 Pipeline Metrics
- Build Success Rate — Percentage of CI builds that pass all tests.
- Test Coverage % — Percentage of codebase exercised by your automated tests.
- Time to Feedback — How quickly the CI pipeline reports a pass/fail after a commit.
🕹️ My Cheatcodes
- 🌱 Automate Everything — Run the full test suite on every single commit, no exceptions.
- 🦎 Fail Fast, Fail Loud — Configure CI to immediately notify the team of a broken build.
- ⚡ Coverage as a Guide — Use coverage reports to find untested code, not as a vanity metric.
📈 Reflection Points
- 💡 Is our CI pipeline fast enough to provide quick feedback?
- 🧩 Are we only tracking coverage or actively using it to find gaps?
- 📘 Does every team member understand how to read the test and coverage reports?
Using AI Assistants to Boost Your TDD Workflow
AI coding assistants like GitHub Copilot are popping up in every developer’s toolkit, and it turns out they fit surprisingly well into the test driven development red green refactor cycle. Far from replacing the discipline, I’ve found that AI acts more like a super-powered pair programmer, speeding up each phase and helping you stay focused.
The trick is to treat the AI like a junior dev—incredibly fast at churning out code, but one that always needs a senior’s watchful eye. The TDD cycle itself provides the perfect structure for that supervision, ensuring every single AI suggestion gets validated right away.
AI in the Red Phase: Generating Test Cases
The “Red” phase is all about writing a failing test to define what you need to build. Honestly, this can sometimes feel like a chore, especially when you’re setting up complex mocks or just writing boilerplate. This is exactly where an AI assistant can be a huge help.
You can feed it a clear, specific prompt and have it generate the entire test skeleton for you. Instead of manually typing out a new test function and all the setup, you just describe the behavior you want to see.
Prompt Example: “Write a Jest test for a React component named
UserProfile. The test should check that when the component mounts, it displays a ‘Loading…’ message while fetching data from/api/user/123.”
The AI will spit out a test file, often with the right imports and a failing test case ready to go. This saves a ton of time and mental overhead, letting you focus on the actual logic instead of the ceremony.
AI in the Green Phase: Writing the Simplest Code
Once you have your failing test (Red), the next step is to get to “Green” as fast as you can. AI assistants are exceptionally good at this. Just give the AI the failing test as context and ask it to write the minimum code required to make it pass.
Because the AI already knows the test’s requirements, it can generate a working implementation in seconds. This completely changes the workflow’s feel. The AI produces the first draft, and your job is simply to run the test and see if it passes. If it’s green, great. If not, you tweak the prompt or the code until it is.
This doesn’t just give you a speed boost; it makes TDD the ultimate safety net for AI-generated code. We all know assistants can occasionally “hallucinate” and produce buggy output. With a failing test waiting, you catch those mistakes instantly.
Measuring and Scaling AI-Assisted TDD with Zest
The real power move is combining AI and TDD with a way to measure and improve the whole process. This is where a workflow manager like Zest becomes indispensable. It doesn’t just help you use AI; it helps you understand how you’re using it.
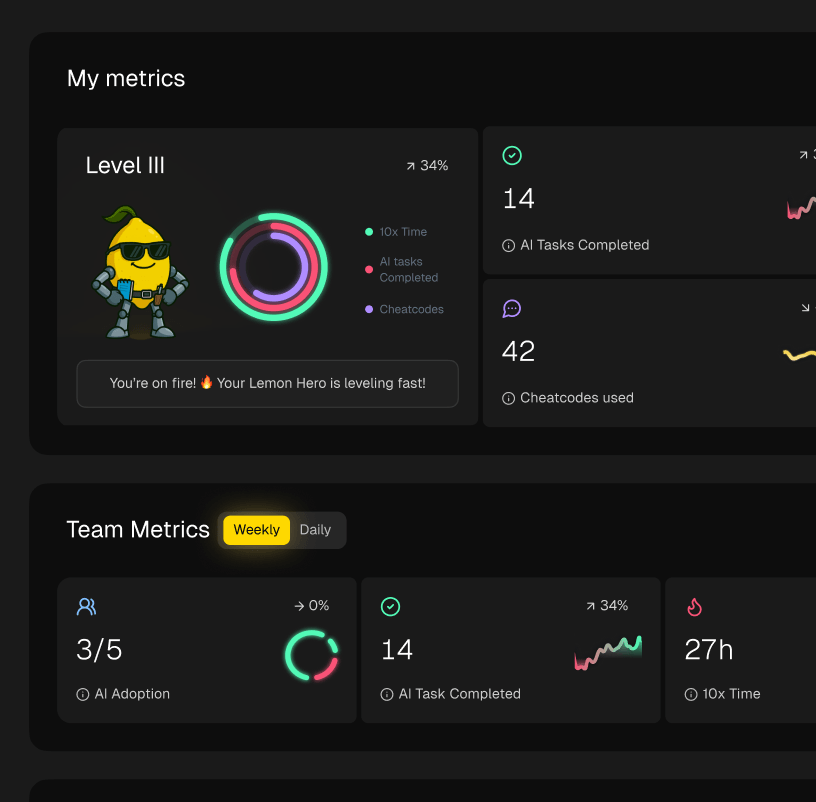
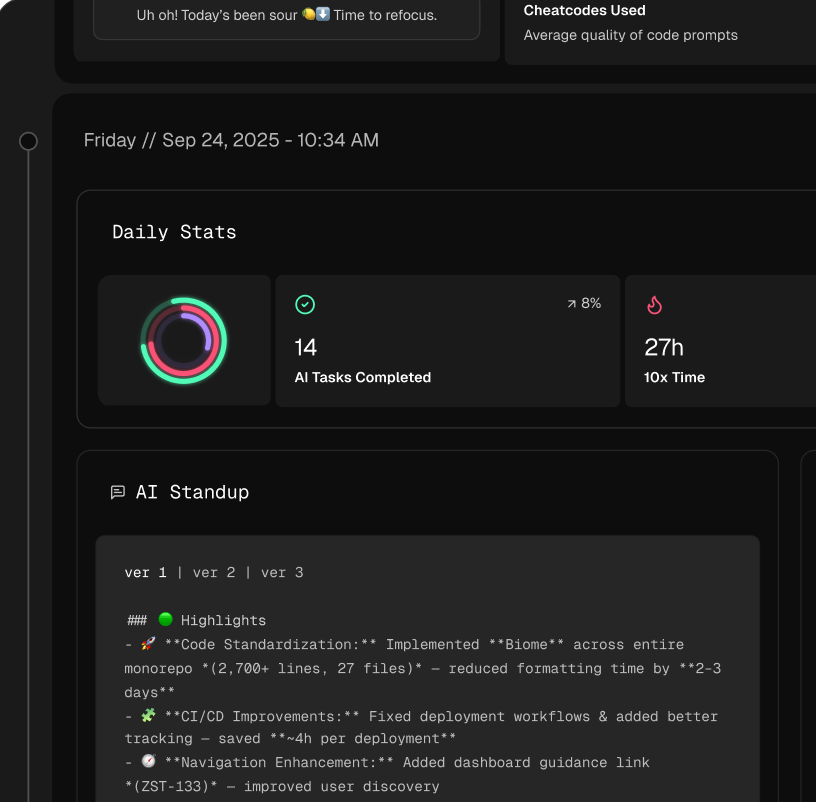
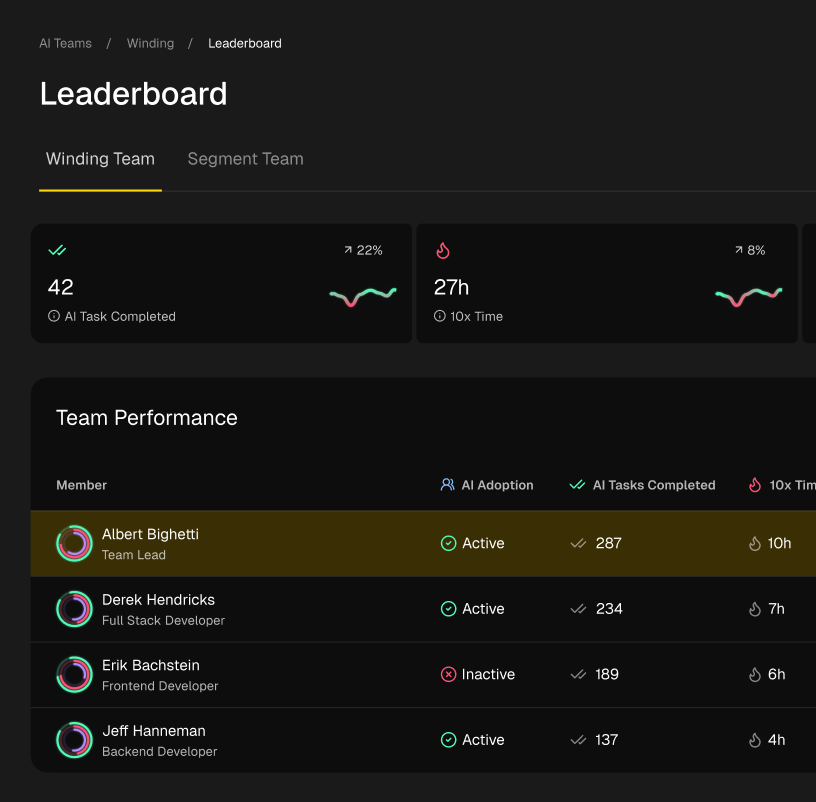
For Zest users, this combination is a game-changer. The AI generates green-phase code quickly, while Zest’s metrics track your refactoring efficiency, flagging 44% slowdowns early on through AI Standups. Teams can even share TDD “cheatcodes”—their best prompts for red/green cycles—to scale those wins across the entire organization. This turns what was once a productivity headache into a friendly competition on the leaderboards.
Zest gives you critical visibility into your AI-assisted TDD cycles by:
- Tracking Metrics: It can measure your “time-to-green,” showing exactly how much faster you’re moving from a failing test to a passing one with AI’s help.
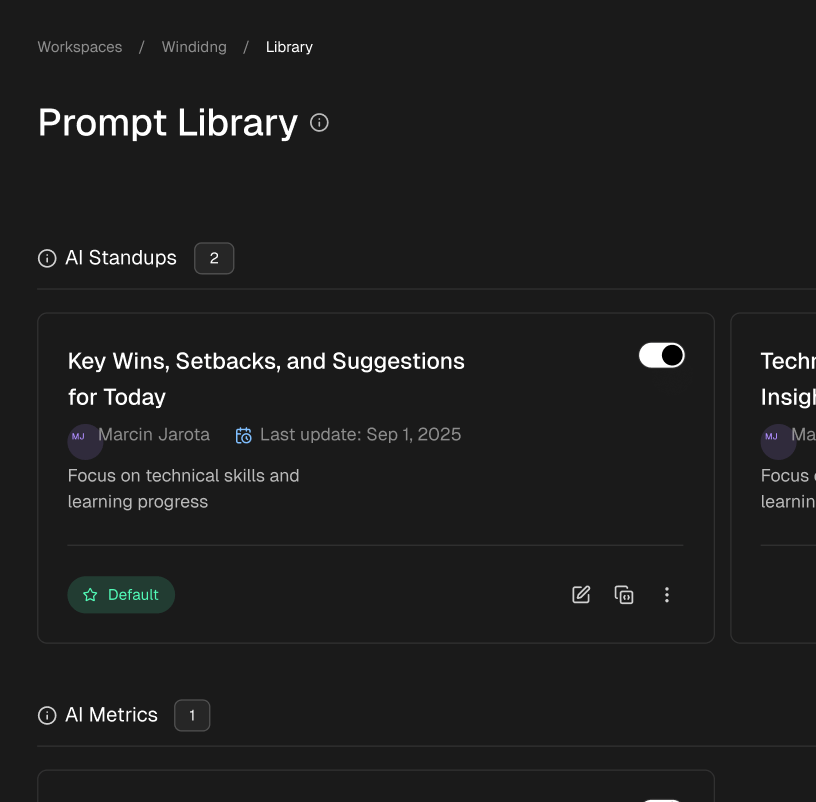
- Capturing Prompts: Zest automatically saves the prompts you use. When you write a killer prompt for generating Red-phase tests, you can save it as a “cheatcode” for your whole team to use.
- Providing AI Hints: If a session is going south—say you’re stuck on a failing test for too long—Zest’s AI Hints can suggest ways to refine your prompt or approach to get you moving again.
This approach turns individual productivity gains into a shared, scalable standard for the whole team. You’re not just coding faster; you’re building a library of proven, effective TDD strategies. To get a better sense of the ecosystem, check out our guide on the best AI coding tools available.
To see how other AI tools can slot into your workflow, you might look into specialized solutions like Thareja’s AI Assistant. By bringing these technologies into your process, your team can focus less on boilerplate and more on shipping high-quality software. The test driven development red green refactor cycle, when paired with smart tooling, creates a powerful framework for building reliable software at a much faster pace.
Got Questions About TDD?
Even after you’ve got the hang of the theory, putting Test Driven Development into practice can feel a little strange. The test driven development red green refactor cycle is a totally different way of thinking about code, so it’s natural to have questions.
Let’s tackle some of the ones I hear all the time from developers just starting their TDD journey. Getting these cleared up can make all the difference.
What’s the Point of Red-Green-Refactor, Really?
It’s all about forcing smarter software design. Sure, you end up with great test coverage, but that’s a side effect of the real goal. By making you write a test before the code, TDD flips the script. You have to think about what you want your code to do from the outside-in.
This simple shift has a massive impact. It nudges you toward creating smaller, focused components that are way easier to manage, test, and debug later. Each step in the cycle has a specific job:
- Red: This phase guarantees that you’re only writing code that serves a real, testable purpose. No more “what if I need this later?” code.
- Green: Pushes you to find the simplest, most direct path to a working solution, avoiding over-engineering from the start.
- Refactor: Gives you a dedicated, safe moment to clean up your code, chop away at technical debt, and improve clarity without the fear of breaking everything.
The real win here isn’t just a test suite. It’s a robust, well-architected codebase that’s a pleasure to work on. Research even shows this approach can slash pre-release bug density by an incredible 60-90%.
Won’t This Just Slow Me Down?
In the beginning? Yeah, it probably will. It’s common for teams to see a temporary 15-40% slowdown as they get used to the write-test-first rhythm. It can feel awkward and even a little frustrating when you’re just trying to get something built.
Think of that initial time as an investment, though. Every test you write adds to a powerful safety net. A few weeks or months down the line, when you need to add a feature or refactor a complex module, you’ll move with confidence. The time you save on debugging mysterious bugs and tedious manual testing more than makes up for the initial learning curve.
Your long-term velocity actually goes up because you’re not constantly getting bogged down fixing old, brittle code.
Can I Use TDD on a Messy Legacy Project?
You absolutely can, and it’s one of the best ways to bring a legacy system under control. The key is to be strategic. Don’t try to wrap a ten-year-old application in tests all at once—that’s a recipe for burnout.
Instead, you apply TDD like a surgeon. The next time you have to fix a bug or add a feature, start by writing a few “characterization tests.” The goal of these tests isn’t to change anything; it’s simply to lock down the current behavior of that specific piece of code, even the quirky or buggy parts.
Once that safety net is in place, you can start the normal red-green-refactor cycle. Write a new test that fails because of the bug you need to fix, then make it pass. This lets you methodically and safely improve the health of your legacy project, one small, test-covered piece at a time.
Master Your TDD Workflow
TDD isn’t just a technique; it’s a discipline. To really get it right, you need to build a repeatable habit. I’ve found the best way to do this is by using a mental scorecard for every cycle. It helps keep you honest and focused on what matters: building high-quality, reliable software.
Think of it as your personal quality checklist to run through as you code.

Core TDD Metrics
To know if your TDD practice is improving, you need to measure what matters. I keep an eye on a few key numbers that tell me if I’m on the right track.
- Time to Green: How long does it take to make that failing test pass? This isn’t about raw speed, but about how efficiently you can write the simplest code to satisfy the test.
- Refactor Ratio: Are you spending enough time cleaning up? This metric tracks how much time you dedicate to refactoring compared to just pushing out new features. A healthy ratio means you’re paying down technical debt as you go.
- Test Coverage Growth: This shows the percentage of your codebase that’s actually protected by your tests. Seeing this number climb is a great indicator that your TDD efforts are paying off.
My TDD Cheatcodes
Over the years, I’ve developed a few non-negotiable rules for my TDD workflow. I call them my “cheatcodes” because they make the whole process smoother and more effective.
- 🌱 Red First, Always. No exceptions. You must write a failing test before you write a single line of implementation code. This is the heart of TDD.
- 🦎 Green Means Go Simple. When you’re in the green phase, your only job is to make the test pass. Write the absolute simplest, most straightforward code to do it. Don’t gold-plate it or add extra logic.
- ⚡ Refactor with Confidence. Once all your tests are green, you have a safety net. This is your signal to start cleaning things up, removing duplication, and improving the design, all while knowing your tests will catch any mistakes.
Reflection Points
As you move through the red-green-refactor cycle, it’s crucial to pause and ask yourself a few questions. This habit separates the experts from the novices.
- 💡 Am I testing behavior or implementation details? Your tests should be resilient to refactoring. If you change the inner workings of a function but not its output, the test shouldn’t break.
- 🧩 Is this test small and focused on one thing? A good unit test has a single responsibility. It makes it easier to pinpoint exactly what broke when a test fails.
- 📘 Did I remember to refactor after the test passed? It’s tempting to move on to the next feature once you see green, but the refactor step is where you create clean, maintainable code. Don’t skip it.
Before You Commit
Okay, you’ve gone through the cycle and you’re ready to commit your changes. Before you do, run through this final checklist. It’s your last line of defense against messy code.
- 🔍 Run the entire test suite one last time. Make sure your changes didn’t break something completely unrelated.
- 📊 Give your new code a final once-over. Is it clean and easy to read? Would a new developer understand it?
- 🧭 Check your test names. Do they clearly describe the behavior they’re testing? A good test name reads like a sentence.
- 📈 Confirm you haven’t introduced any sneaky anti-patterns.
Master the Red-Green-Refactor Cycle
Use this scorecard to internalize the TDD workflow and consistently build high-quality, reliable software.
📊 Core TDD Metrics
- Time to Green — How efficiently you write the simplest code to satisfy a failing test.
- Refactor Ratio — Time spent cleaning code vs. pushing new features, ensuring debt is managed.
- Test Coverage Growth — The percentage of your codebase protected by tests over time.
🕹️ My Cheatcodes
- 🔴 Red First, Always — Write a failing test before a single line of implementation code.
- 🟢 Go Simple for Green — Write the absolute simplest code to pass the test; avoid over-engineering.
- 🔵 Refactor with Confidence — Only clean up and improve code when all your tests are passing.
✅ Before Committing Code
- 🔍 Run the entire test suite one last time.
- 📊 Ensure new code is clean and easily readable.
- 🧭 Check that test names clearly describe behavior.
- 📈 Confirm you haven't introduced any TDD anti-patterns.
Gallery
Lemon shots