How to Use Cursor Effectively A Guide to AI-Powered Development

If you want to get the most out of Cursor, it all comes down to one thing: context. Give the AI the full picture, and it will give you incredible results. This means indexing your entire codebase, pointing it to external documentation with the ‘@’ symbol, and even connecting your Git repository to let it see the project’s history. When you do this, Cursor stops being a simple code generator and starts feeling like a true collaborator who actually understands your project.
Setting Up Your Workspace for Seamless AI Collaboration

Before diving into fancy prompts or complex refactoring, you have to get your environment right. An optimized workspace gives the AI the raw material it needs to generate relevant, accurate, and genuinely helpful code. Just installing Cursor isn’t enough—you have to set it up to understand the unique quirks of your projects.
The very first thing to do is let Cursor index your entire codebase. The first time you open a project, it’ll ask for permission. Always say yes. This process builds a complete map of your code, so the AI can see how files connect, where functions are defined, and how logic flows. Without this, the AI is basically flying blind.
Supercharge Context with Documentation and Git
With your codebase indexed, it’s time to teach Cursor about the world outside your local files—your dependencies and project history. Two features are absolutely essential here:
- Linking External Documentation: You can use the
@symbol right in the chat to pull in context from any URL. It’s a game-changer. For example, you could prompt, “Using the patterns from@docs.stripe.com/api, refactor this payment function.” The AI will actually go to that URL and use it as a guide, making sure its suggestions follow the library’s official best practices. - Connecting Your Git Repository: This one is huge. Integrating Git lets Cursor see your commit history, understand recent changes, and grasp how the codebase has evolved. It can infer your intent from past commits, which leads to far more relevant suggestions.
Putting in this little bit of effort upfront pays off in every single interaction you have with the AI. It’s the difference between getting a generic snippet you have to fix and getting a solution that feels like it was written by someone who knows your project inside and out. Honestly, learning to properly set up an AI pair programmer is the most important first step to unlocking those big productivity boosts everyone talks about.
The Learning Curve of AI Collaboration
Look, let’s be real: you won’t be a Cursor wizard overnight. There’s a learning curve. A fascinating study by METR actually found that developers who were new to Cursor were about 19% slower at fixing bugs than those using no AI at all. At first, the time spent reviewing suggestions and getting used to the workflow can slow you down.
But here’s the encouraging part. The same study showed that developers with over 50 hours of experience saw their speed jump by 38%. It proves that proficiency comes with practice. You have to treat Cursor like any other powerful tool in your belt—it takes a bit of time to master, but the payoff is well worth the initial investment. If you’re curious, you can dig into the full study on Cursor’s impact on developer effectiveness over at pragmaticengineer.com.
Mastering the Art of Conversational Coding
To get the most out of Cursor, you have to shift your mindset. Stop treating it like a search engine that just answers questions, and start thinking of it as a junior developer you’re pair-programming with. The quality of the code it produces is a direct reflection of the quality of your instructions.
This all starts with the “Context-First” principle. Before you even think about writing your prompt, give the AI everything it needs to understand the task. Don’t just ask it to “fix this bug.” A much better approach is to highlight the entire function, attach the relevant error log using the @ symbol, and then ask for a fix. Giving the AI all the context upfront is the single most important thing you can do to get accurate, useful code.
From Vague Ideas to Refined Logic
You’re not going to solve a complex problem with a single prompt. That’s where multi-turn conversations come into play. Think of it as a brainstorming session where you start with a big idea and gradually refine it.
For instance, you could start broad: “Scaffold a new React component for a user profile page.” Once Cursor gives you the basic structure, you can build on it. “Now, add state management for user data using Zustand.” Then, you can get even more specific: “Great. Finally, implement optimistic updates for the ‘save profile’ button.”
Each prompt builds on the last, guiding the AI toward a complete and well-thought-out solution. This iterative process turns the AI from a simple code generator into a real collaborator. If you’re curious about what makes these tools tick, exploring discussions around AI models like ChatGPT can offer some fascinating insights into conversational AI.
Advanced Prompting Techniques
Once you’ve got the basics down, you can start experimenting with more advanced patterns to really push what the AI can do. These techniques aren’t just about getting code; they’re about getting well-reasoned, high-quality solutions.
- Role-Playing: This one is surprisingly effective. Assign the AI a persona to frame its response. Try something like, “Act as a senior security engineer and review this code for potential vulnerabilities.” This simple trick focuses the AI’s analysis and often helps it spot issues you might have otherwise missed.
- Chain of Thought: Don’t just ask for the answer; ask for the reasoning behind it. Instead of just “Refactor this function,” try: “Refactor this function to be more efficient. Explain your thought process, detailing why you chose a specific algorithm and its performance benefits.” This forces the AI to justify its choices, which gives you a much deeper insight into the solution it provides.
When you treat your interactions with Cursor like a structured dialogue instead of a one-off command, you shift from simply getting answers to collaboratively building solutions. This is the heart of effective AI-assisted development.
A good prompt makes all the difference. Vague requests lead to vague, often useless, code. On the other hand, a specific, context-rich prompt gets you exactly what you need.
Effective vs Ineffective Cursor Prompting
| Ineffective Prompt | Effective Prompt | Why It Works Better |
|---|---|---|
| “Write a function.” | “Write a Python function named calculate_discount that takes price and percentage as inputs. Add docstrings and type hints.” |
Specificity: It clearly defines the function name, language, parameters, and required code quality standards. |
| “Optimize my code.” | “Analyze this specific function for performance bottlenecks and suggest optimizations. Focus on reducing memory usage.” | Focus: It targets a specific function and a clear optimization goal (memory usage), preventing generic advice. |
| “It’s not working.” | “I’m getting a TypeError in @main.js on line 42 when I click the submit button. Here’s the function. Find the error.” |
Rich Context: It provides the error type, file, line number, user action, and the relevant code snippet. |
The takeaway is simple: the more information you provide, the better the AI can perform its role as your coding partner.
Speeding Up Your Debugging and Refactoring
Let’s be honest, writing new features is the fun part. It’s the debugging and refactoring that can really bog you down. This is where Cursor’s AI really starts to earn its keep. With the right approach, you can turn those time-sucking chores into quick, productive sessions.
The trick is to think of Cursor as your diagnostic partner. Instead of just glaring at a stack trace and trying to figure out what went wrong, you can feed it the entire context—the buggy code, the error message, everything—and ask it for help directly.
Debugging Smarter, Not Harder
Vague prompts like “fix this” won’t get you very far. To get quality results from Cursor, you have to be specific. The more context you provide, the faster it can zero in on the problem.
Here are a few prompts I find myself using all the time:
"I'm getting a false return from this function when I expect true. Here's the input: [paste input]. Can you spot the logical error?""Just got this traceback from the terminal. Explain what this error actually means and suggest a fix for the code I've highlighted.""Scatter some console.log statements in this block so I can trace how the 'user' variable changes."
This completely changes the dynamic. It stops being a frustrating guessing game and becomes a structured conversation. If you want to go even deeper on this, we’ve put together a guide specifically on how to use AI to debug code that covers more complex scenarios.
Once Cursor suggests a fix, its “Fix & Diff” view is essential.
Think of the ‘Fix & Diff’ view as your personal quality check. It lets you review every single line the AI wants to modify. You can accept or reject changes with a click, so you always have the final say. Never, ever blindly accept a fix.
AI-Powered Refactoring for Legacy Code
Technical debt is a momentum killer. We’ve all been there—staring at a massive, messy function that nobody wants to touch. Cursor is fantastic for tackling this kind of code and modernizing it. Just highlight a class or function and you can ask the AI to do some pretty sophisticated refactoring that would normally take hours of manual work.
This is your chance to use established software design principles in your prompts.
"Refactor this class to use the strategy pattern for handling payment methods.""This conditional logic is a mess. Simplify it into a clean switch statement or maybe a polymorphic structure.""Go through this entire file and add comprehensive JSDoc comments and TypeScript type hints.""The error handling in this function is non-existent. Make it robust, ensuring it catches and logs exceptions from the API call."
By framing your requests like this, you’re not just asking the AI to move code around; you’re guiding it to improve the underlying architecture.
I recently fed Cursor a monolithic, 500-line function and just asked it to “break this down into smaller, single-responsibility functions.” It did a surprisingly good job of identifying logical chunks, extracting them into new, well-named functions, and then updating the original function to call them. It’s a game-changer for reducing cognitive load and making code maintainable.
Unlocking Advanced Features and Productivity Hacks
Once you get the hang of conversational coding, it’s time to dig into the features that really set the pros apart. These aren’t just little shortcuts; they’re powerful tools designed to automate the grunt work and weave AI so deeply into your process that you’ll wonder how you ever coded without it. Moving beyond simple Q&A is where the real magic happens.
One of the most powerful commands is Auto-Debug. This feature literally gives the AI access to your terminal. The next time you hit a frustrating runtime error, you can just tell Cursor to figure it out. The AI will then run tests, read the output, and try different fixes on its own until the problem is solved. It’s an incredible way to tackle complex bugs without constant manual intervention.
Automating the Tedious Stuff
Every developer has those tasks they do over and over again—writing boilerplate, generating docs, you name it. Cursor lets you automate these routines with custom commands and prompt shortcuts, which can genuinely save you hours every week.
- Custom Commands: You can create your own commands for common workflows. Imagine creating a command that instantly generates a test file for any function you highlight, complete with mock data and basic test cases already written.
- Prompt Shortcuts: Got a prompt you use all the time? Save it as a shortcut. Instead of repeatedly typing out “Refactor this function to be more concise and add TypeScript types,” just assign it a quick alias.
This kind of personalization makes Cursor feel less like a generic tool and more like an extension of your own brain, tailored perfectly to your coding style.
Another game-changer is Generate Docs. Just select a function, a class, or even an entire file and ask Cursor to document it. It will produce high-quality, context-aware documentation in formats like JSDoc or Python docstrings. This feature alone can cut out so much tedious work and keep your codebase clean and maintainable.
Real-Time Code Quality and Proven Gains
Cursor also plays nicely with linters, giving you AI-powered feedback on your code quality in real-time. As you type, the AI can flag potential bugs, suggest better ways to write something, and make sure you’re sticking to the project’s style guide. It’s like having a senior dev looking over your shoulder, helping you write better, more solid code from the get-go.
The real power of Cursor is realized when you stop seeing it as a code generator and start using it as an integrated workflow automation engine. Its advanced features are designed to handle the tedious parts of development, freeing you up to focus on solving bigger problems.
And these productivity gains aren’t just a feeling. A detailed study at a security company with nearly 100 engineers found a clear, measurable impact. Developers who consistently used Cursor’s AI features on their coding days saw a significant jump in their productivity scores compared to those who didn’t. This just goes to show how daily use of these tools directly translates into better efficiency, even in complex, professional environments. You can read the full analysis of the productivity study on bilanc.co. By using these advanced hacks, you’re not just coding faster; you’re coding smarter.
7. Measuring Your AI-Powered Wins
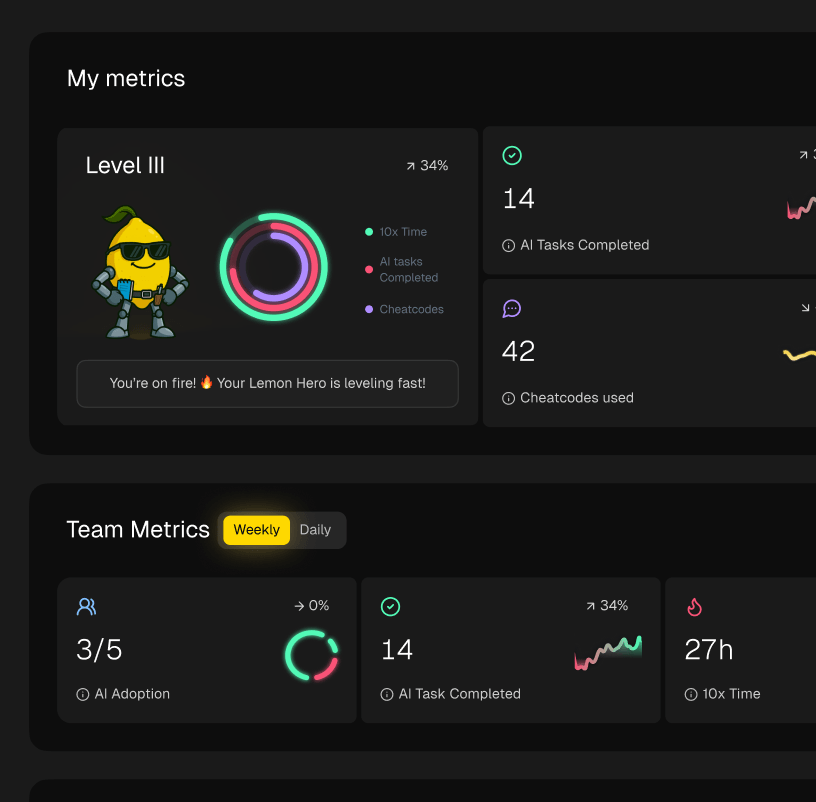
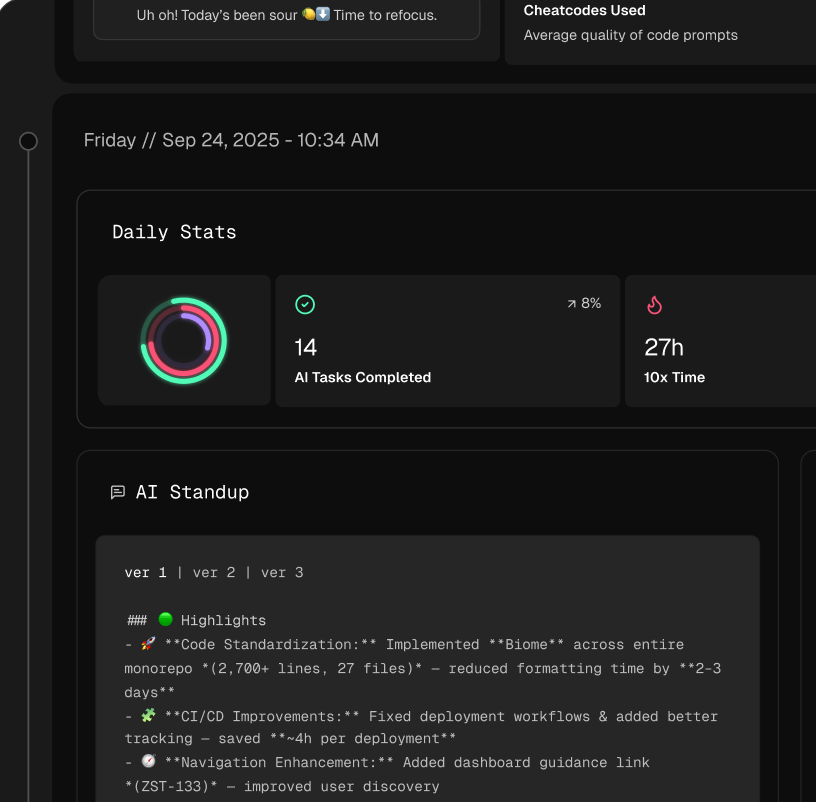
It’s one thing to feel like you’re flying with Cursor, but it’s another to actually prove it. Shifting from that gut feeling of “I’m faster” to showing hard data is how you truly demonstrate the value of bringing AI into your coding workflow. When you can quantify the wins, it’s much easier to justify the investment and get your whole team on board.
The key is to draw a straight line from your AI usage to real-world results. Forget vanity metrics like “lines of code generated.” Instead, focus on things that genuinely move the needle on quality and efficiency.
Key Metrics to Start Tracking
You don’t need a complicated setup to get started. Just begin by paying attention to a few things in your day-to-day work:
- Bugs Caught Pre-Commit: How many times did Cursor’s AI spot a tricky logical error or a missed edge case before you even committed the code? Every single one of those is a major win.
- Time Saved on Refactoring: Think about how long it would have taken to manually refactor that messy, legacy function. Now, compare it to the time it took with Cursor. Even a rough estimate can be eye-opening.
- Code Complexity Reduced: Did you use a prompt to turn a 50-line nested nightmare into a clean, 15-line function? That’s a clear, measurable improvement in code health.
Tracking these simple points helps you build a strong narrative around how AI improves not just your speed, but the quality of your work. If you want to go deeper, it’s also worth exploring other software engineering productivity metrics that fit perfectly with an AI-first workflow.
Using Cursor’s Analytics Dashboard
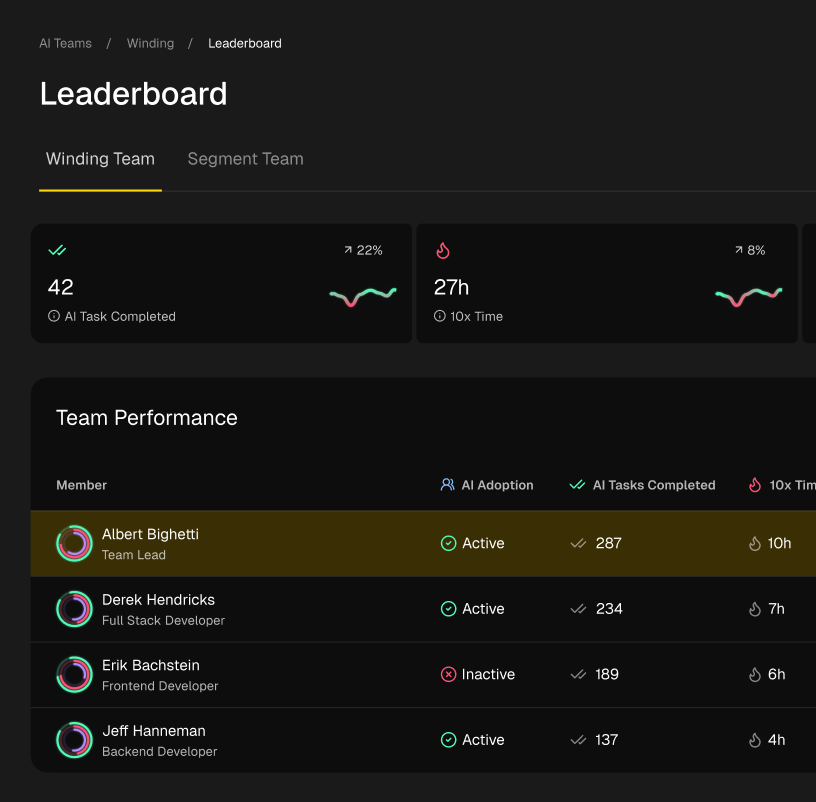
For a more data-backed approach, Cursor’s built-in Analytics Dashboard is gold. It gives admins a clean look at how the team is actually using the tool. We’ve seen organizations look at their aggregate stats and find hundreds of prompts and accepted completions every single week on active teams.
This data shows you just how ingrained the tool is becoming in everyone’s process. And while the dashboard itself doesn’t tie AI use to a specific business outcome, you can connect the dots. Some teams, for example, have reported they can handle 20% more support tickets each week after getting proficient with Cursor. You can learn more about this on tracking Cursor AI usage on worklytics.co.
Take the “prompts sent” and “completions accepted” data from your Cursor dashboard and hold it up against your Jira or Linear board. Did a big spike in AI activity line up with clearing a backlog of tickets? That’s your ROI right there.
This is how you change the conversation from “I feel more productive” to “Our team is closing tickets 15% faster since we adopted these AI prompting strategies.” That’s how you prove the impact and build a culture around smart, AI-assisted development.
Becoming an AI-Augmented Developer
Moving into an AI-augmented development role is about a lot more than just learning a few new keyboard shortcuts. It’s a genuine shift in how you think about your work. You’re no longer just the person writing every single line of code; you’re now the director, guiding a powerful AI partner.
Think of it as a collaboration. You’re not just barking orders for code snippets. Instead, you’re the one providing crucial context, refining the AI’s output, and making sure the final code fits into the bigger architectural picture. This elevates your role from coder to strategic problem-solver. If you really want to get a handle on this, understanding the core concepts behind tools like the Cursor AI development tool is a great place to start.
This new way of working also means you need a way to prove its value. A simple workflow can help you connect the dots between using AI and getting better results.
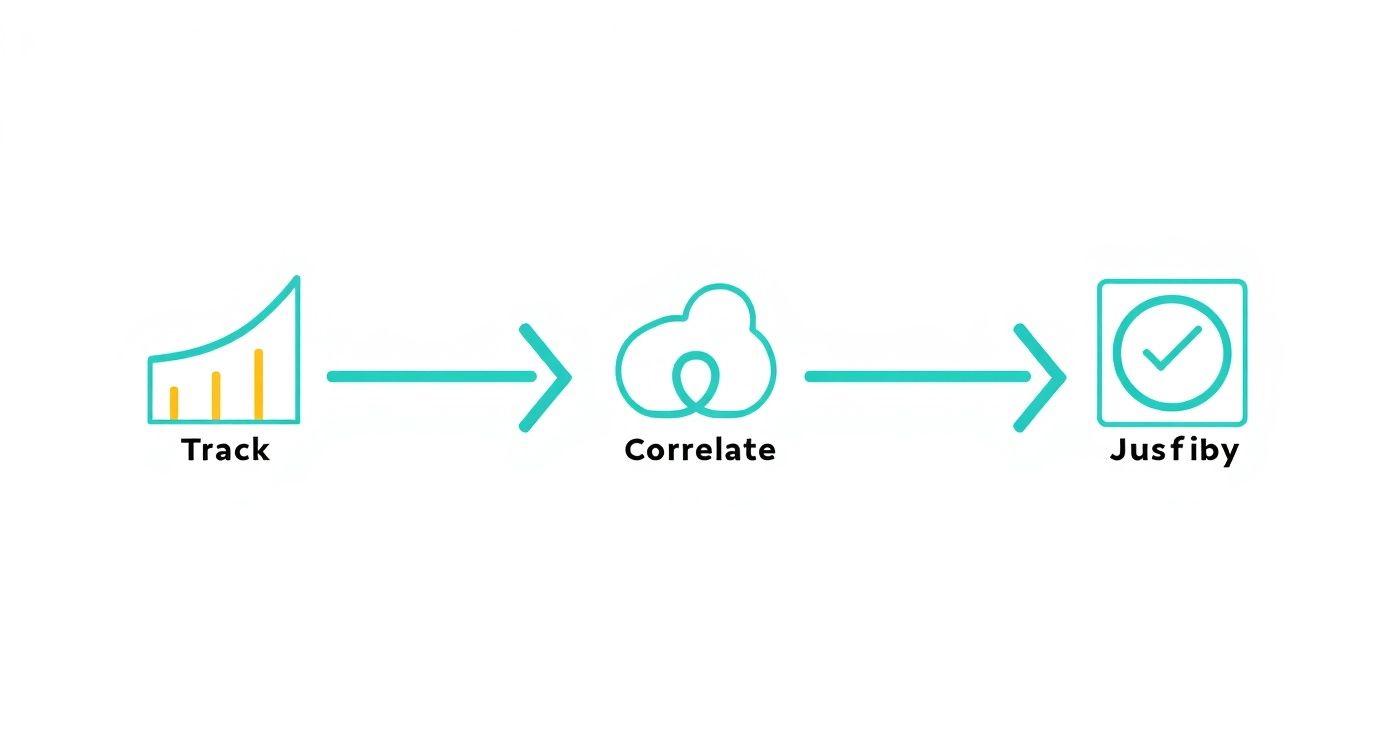
The idea is straightforward: track what you’re doing with the AI, connect those actions to real project outcomes, and then use that data to show the tool’s impact. When you adopt this mindset, you don’t just code faster—you build smarter.
Your Cursor Effectiveness Scorecard
Use this simple scorecard to go from just using Cursor to truly partnering with it.
Core Metrics to Watch
- AI-Assisted Commits: How many of your commits include code generated or refactored by the AI?
- Bugs Caught Pre-Commit: Count the issues you catch and fix with AI help before they ever hit the main branch.
- Refactoring Time Saved: Estimate the hours you’ve gotten back by letting the AI handle complex code cleanup.
My Go-To Cheatcodes
- 🌱 Context-First Prompting: I always start by giving Cursor the relevant files and docs using the ‘@’ symbol. Context is everything.
- 🦎 Multi-Turn Refinement: Don’t expect perfection on the first try. I’ll start with a broad request and then get more specific with follow-up prompts to zero in on what I need.
- ⚡ One-Click Fix & Diff: I lean heavily on Cursor’s built-in diff view. It’s the fastest way to see what the AI changed and instantly accept or reject its suggestions.
Quick Sanity Checks
- 💡 Am I just blindly accepting what the AI gives me, or am I actually reviewing and thinking critically about its suggestions?
- 🧩 Are my prompts specific enough to get a high-quality response, or am I being too vague?
- 📘 Have I set up my custom keybindings yet? Making AI interactions feel like a natural part of my workflow is a huge productivity booster.
Your Top Cursor Questions, Answered
As you start weaving Cursor into your daily workflow, you’ll probably have a few questions. I’ve gathered the most common ones I hear from developers to help you get the most out of the editor right from the start.
How Is Cursor Different From VS Code with a Copilot Extension?
It’s a fair question, but the two are worlds apart. Think of it this way: Copilot is a brilliant autocomplete that lives inside your editor. Cursor, on the other hand, is the editor.
Because Cursor is a fork of VS Code built specifically for AI, it’s not just an add-on. It’s a complete environment. This ground-up integration lets it do things an extension simply can’t, like indexing your entire codebase, referencing documentation with @ symbols, and keeping a fully context-aware chat history for your project.
Can I Still Use All My VS Code Stuff?
Yes, and this is a huge win. You don’t have to ditch the setup you’ve spent years perfecting.
Since Cursor is built on VS Code’s foundation, it’s fully compatible with the entire VS Code extension marketplace. Go ahead and import your settings, themes, keybindings, and every extension you rely on. The transition feels seamless because you’re not giving up your personalized workflow; you’re just adding a powerful AI layer on top of it.
Is It Hard to Get Good at Using Cursor?
Honestly, there’s a bit of a learning curve to go from just using it to really using it well. The basic code completion feels natural right away. But mastering context-rich prompting, getting the hang of features like Auto-Debug, and learning how to structure a multi-step conversation with the AI—that takes a little practice.
The initial adjustment is real. Studies have shown developers can be a bit slower at first, but once it clicks, the speed increase is dramatic. Putting in a little time upfront to learn its unique workflows pays off big time in productivity.
How Do I Give the AI the Right Context for My Project?
This is the most important skill to develop. Garbage context in, garbage code out.
The best and most direct way is using the @ symbol in the chat. You can explicitly point the AI to specific files, folders, or even links to documentation. It’s like telling a junior dev, “Look at auth.ts and userModel.js before you answer.”
When you first open a project, let Cursor index everything for broad, codebase-wide awareness. But for a specific task, always highlight the relevant code block before you start chatting. This focuses the AI’s attention exactly where you need it.
Master Your Cursor Workflow
Elevate your role from coder to strategic problem-solver by guiding your powerful AI partner.
📊 Core Metrics
- Bugs Caught Pre-Commit — Number of issues flagged by AI before hitting the main branch.
- Refactoring Time Saved — Estimated hours reclaimed by automating legacy code cleanup.
- Code Complexity Reduced — Tangible reduction in lines/nesting from AI-assisted refactors.
🕹️ My Cheatcodes
- 🌱 Context First — Always provide relevant files (`@file`) and highlight code before prompting.
- 🦎 Multi-Turn Refinement — Start with a broad request, then narrow it down with follow-up instructions.
- ⚡ One-Click Apply — Use the "Fix & Diff" view to review every change and maintain full control.
📈 Reflection Points
- 💡 Am I blindly accepting AI suggestions or critically reviewing them?
- 🧩 Are my prompts specific and context-rich enough to get quality results?
- 📘 What repetitive task can I automate next with a custom Cursor command?
Gallery
Lemon shots